Step One: Get the Rails Off
 Note the head of the pool table. This is where the nameplate usually is and the side on which you place your cue ball to break. Working your way around the table, remove each bolt from underneath the rails. Take care to collect the washers and bolts and keep them together in a small box or bag. Carefully remove the staples or tacks where the leather baskets attach to the underside of slate. Typically, the rails are connected in two U shaped sections. With the help of your assistant, gently lift the connected rails and flip over so that the bottom of the rails are facing up. Label the rails Head, Head Left, Head Right, Foot, etc. Remove the bolts securing the pockets. Place them with the other hardware or screw them back into the pockets.
Step Two: Take the Felt Off
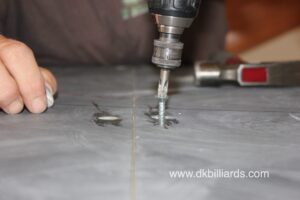
Removing the billiard cloth carefully, can often save you the cost of refelting. There are few shortcuts to taking the cloth off but the best way is the most time consuming. Removing the staples one by one takes time and can be a tedious task. That’s why you enlist help. Taking your time prevents tearing the cloth and also doesn’t leave staples sticking out of the slate liner, saving your hands when it comes time to carry.
Work around the perimeter with the screwdriver. Pry each staple off then remove it using the pliers. A magnet can be helpful after you are complete to pick up any loose staples left behind as they easily get stuck in carpet. Fold felt neatly and place with hardware so it doesn’t become misplaced.
 Step Three: Take Slates Off
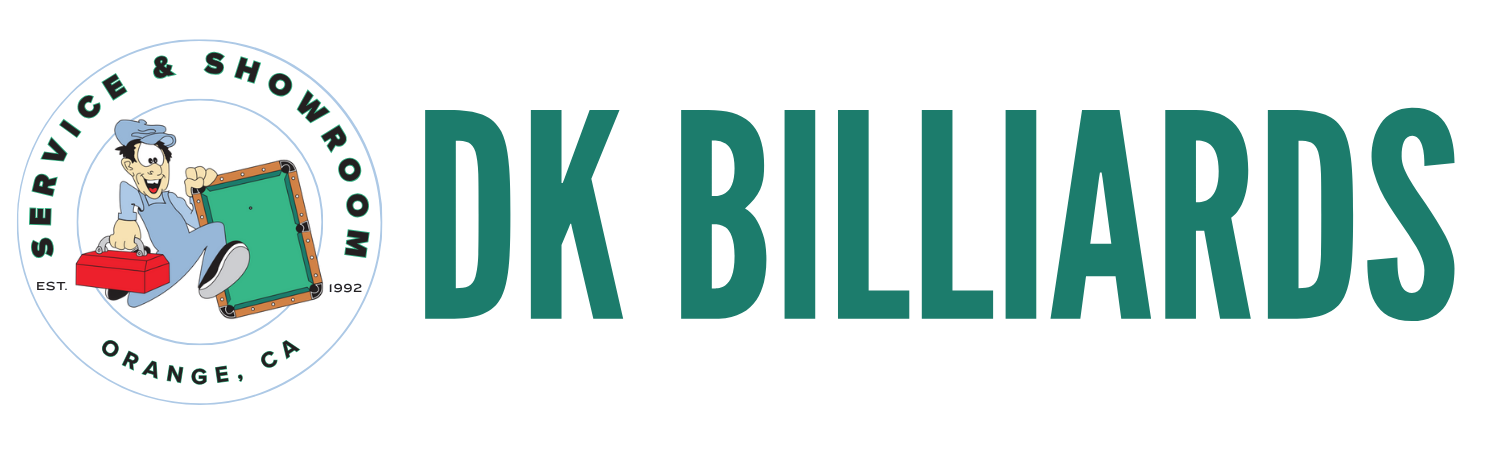
The three pieces of slate are screwed into the frame. The seams are typically joined together with beeswax, though sometimes they are puttied. Draw an arc spanning the three slates and mark the head piece, if not already marked. Remove all slate screws, including ones covered by wax or putty.
Separate end slates first by sliding apart a few inches. Some slates are doweled, so lifting up without separating can break the dowels. Next, scrape seams clean of wax or putty. Mark the center slate in relation to its position on the frame using hatch marks. This is ensures the slate will go back in the exact same position during setup.
Carry the slate pieces to the truck and stack them one on top of another in the bed. Do not place anything between. Double check the bottom of the slate for any shims or other debris. Even something very small can cause the slates to crack during transport. Each piece must remain completely flat. Lift each off with one person on each side of the slate piece. Seams sealed with wax come apart easily. Great care should be taken with seams sealed with putty as it is likely to chip the slate when pulling apart.
Step Four: Load Frame, Rails and Parts
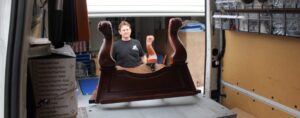 The frame of the table will be heavy, but manageable. Turn on its side to get through a doorway or around a tight corner. There are instances where legs can and should be removed from the main frame, but most commonly it can remain completely intact for the move.
Load the pool table frame into the truck, then secure with straps for it’s journey. Wrap rails with moving blankets or towels to prevent scratches, then load in truck. Don’t forget to load pockets, hardware and felt. Most folks will place these items in the truck cab, but you can also leave them in the bed if you’d like.
Don’t forget your balls, cue sticks and rack!
Step Five: Drive to Your New Location and Unload
When you reach your destination, start by unloading your frame first. Work your way backward through steps to begin the setup process.